Kushan Player - Common Taiidan

Scout
Mass Lin v Rot v BuildCost BuildTime Armor
8 1000 3.5 35 12 110
Weapons Range Coverage Fuel FuelRate HiFuelRate
2×4 4000 8% 14000 0.021 0.040

The Scout is a lightweight Interceptor. It's the fastest ship in the game and when on Evasive is very hard to hit. It has little firepower or armor. They are best at doing what their name suggests; send them out into the void to sniff for danger. Retreive them when enemies arrive and send in the heavies.
Special: Afterburner
Allows the Scout to travel at 1500 (missiles travel at 1250) at the expense of a higher fuel burn rate (but hey, fuel is free so why not?)
R2 Scout (colorful artist's impression)


Interceptor
Mass Lin v Rot v BuildCost BuildTime Armor
10 875 2.8 55 18 160
Weapons Range Coverage Fuel FuelRate HiFuelRate
2×8 4500 10% 14000 0.021 0.040

The Interceptor will make up the majority of your strike force until you Research 'Fast Tracking Turrets' and can build MultiGun Corvettes. It is slightly slower than a scout but has higher damage and armor. As with all fighters, a wing of Interceptors makes continual 'sweeps' or 'passes' at the enemy unit(s), accounting for the higher fuel consumption during combat (see HiFuelRate). Groups of 15 to 25 Interceptors in X or Claw formation are most effective.


Attack Bomber
Mass Lin v Rot v BuildCost BuildTime Armor
10 750 2.8 85 20 110
Weapons Range Coverage Fuel FuelRate HiFuelRate
2×58 5800 5% 14000 0.021 0.040

A wing of AB's will quickly wittle down the armor of an enemy Capital Ship but their low speed and armor makes them easy prey for enemy Strike Craft. Keep docking them for repair - they seem to act as ballistics magnets, taking heavy damage if under attack by Strike Craft. The 'attacking passes' flight pattern is particularly effective when sending AB's against most CapShips (but not Missile Destroyers!) because the CapShip takes so long to rotate to fire, it seldom has a chance to catch a Bomber.


Defender
Mass Lin v Rot v BuildCost BuildTime Armor
10 385 2.1 65 9 325
Weapons Range Coverage Fuel FuelRate HiFuelRate
3×4 6500 90% 14000 0.021 0.021

Defenders stand no chance alone; they must be used en-mass to be effective. Missile Destroyers and MultiGun Corvettes tear Defenders to bits. Although a Defender has nice coverage and firepower, it stays still and is easy picking for anything with decent armor. If an enemy has targetted on a larger ship (eg. your Mothership) then Defenders can be set to take it out but CapShips tend to do a better job.
(NB: each gun used to inflict about 28 damage but with the later patches, this has dropped to a useless 4.)


Light Corvette
Mass Lin v Rot v BuildCost BuildTime Armor
150 575 1.5 135 22 900
Weapons Range Coverage Fuel FuelRate HiFuelRate
1×25 5000 40% 20000 0.036 0.060

Despite superior armor, coverage and fuel capacity to fighters, these craft fall short of being useful due to low speed and offensive power. They last a while under enemy fire, admitted. But they turn too slowly to be much good against Strike Craft and firepower is barely high enough to offset the autoRepair of most CapShips!
R2 Light Corvette (colorful artist's impression)


Heavy Corvette
Mass Lin v Rot v BuildCost BuildTime Armor
150 520 1.5 240 25 1700
Weapons Range Coverage Fuel FuelRate HiFuelRate
2×32 5000 50% 20000 0.036 0.060

The Heavy Corvette is more useful. It can serve as defence until MGC's are on the menu. With good armor, firepower and coverage it packs quite a punch and can be used as an offensive wing. They are prohibitively expensive to mass-produce early in the Single Player game but, once bought, will hang around for much longer than Fighters. Can track multiple targets.
Special: Charged Burst Attack
Inflicts greater initial damage on the target. Best against CapShips since they are harder to miss.


MultiGun Corvette
Mass Lin v Rot v BuildCost BuildTime Armor
150 695 1.9 225 28 1400
Weapons Range Coverage Fuel FuelRate HiFuelRate
6×7 6000 78% 20000 0.036 0.060

With the speed and firepower of a Fighter, the armor of a Corvette and excellent coverage, this craft is the ultimate strike machine. The game caps your fleet at 50 Corvettes but these will easily become the backbone of your strike force. (Although Interceptors and Scouts are needed against the Swarmers because they are simply too fast for MGC's on the straight.) The ability to track and fire upon up to six enemy craft at once means MGC's have no problem with sitting in the middle of a firefight and taking out enemies left, right and center. When faced with a large wing of MGC's on Agressive, most CapShips don't stand a chance.
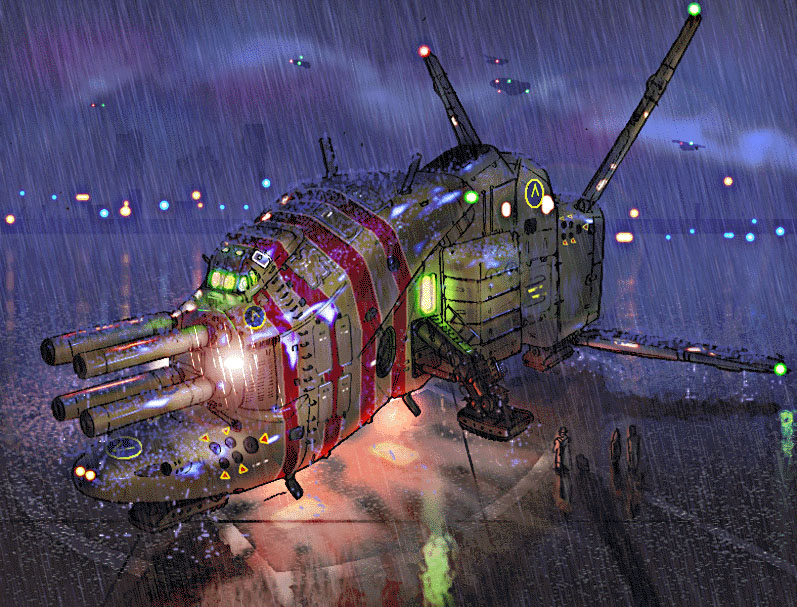
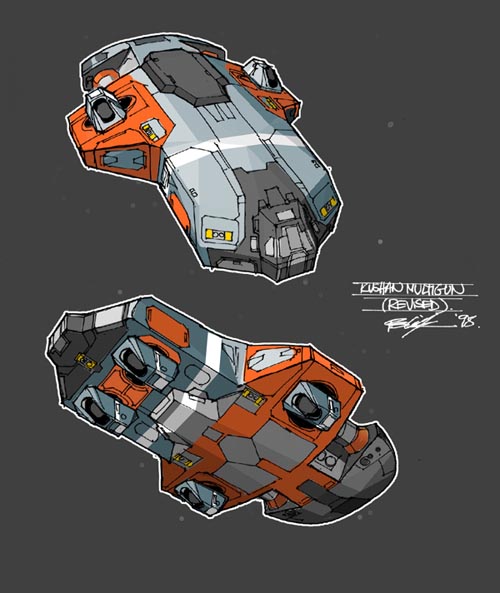
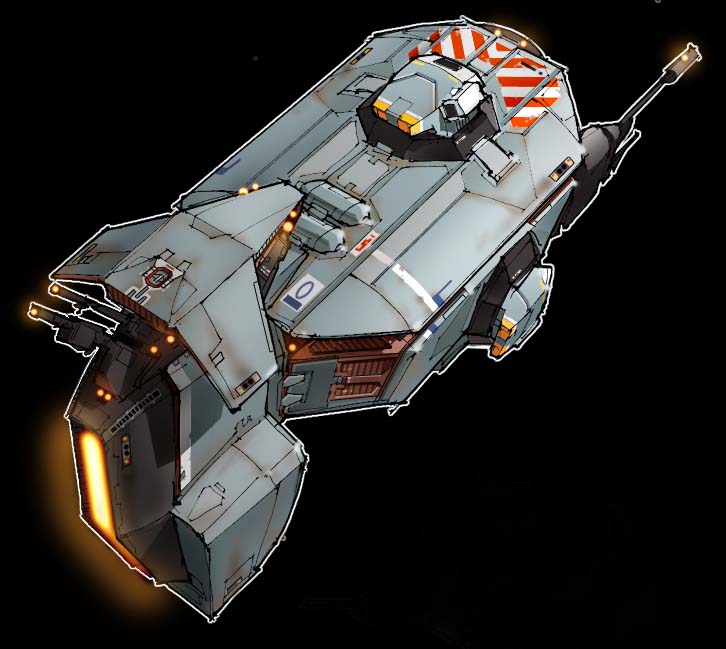
R1 MultiGun Corvette (colorful artist's impression)


MineLayer Corvette
Mass Lin v Rot v BuildCost BuildTime Armor
150 425 1.9 275 40 1800
Weapons Range Coverage Fuel FuelRate HiFuelRate
2×550 3500 100% 20000 0.036 0.060

Mines do significant damage and they home in on any enemy ships within 3500. They travel at a speed of 400 so any Strike Craft should fear nothing from them... as long as they keep moving. Clearing a minefield is a tricky task. A few MLC's in the hand of the strategist is sure to put the dampers on any serious attack made against them.
Special: Forced Drop
Lays a wall of mines behind the MLC


Salvage Corvette
Mass Lin v Rot v BuildCost BuildTime Armor
400 425 1.1 220 30 1500
Weapons Range Coverage Fuel FuelRate HiFuelRate
- 2000 - 20000 0.036 0.036

These guys lack any firepower and have annoyingly low armor, but they're kinda useful. Salvage Corvettes are unaffected by Gravity Wells.
Special: Tractor Beam
Teams of Salvage Corvettes can tow other ships.


Repair Corvette
Mass Lin v Rot v BuildCost BuildTime Armor
400 500 0.75 150 20 1200
Weapons Range Coverage Fuel FuelRate HiFuelRate
1×7 3000 10% - 0 0

These guys are quick and small. Their purpose is repairing and refuelling your Strike Craft, although they can only process one ship at a time. They are handy for sending out into enemy territory (with a few CFG's in tow) to refuel the odd stranded Cloaked Fighter that doesn't have enough fuel to return to dock with your fleet. A docked ship receives 1200 units of fuel per second. Don't go building loads of them, though, because the next item may interest you...
Special: Reconstructor Beam
'Z'-Target the Repair Corvette on a damaged ship and the Reconstructor Beam will repair it. It can deflect up to 10° and restores 45 points per second at a maximum range of 1900.


Support Frigate
Mass Lin v Rot v BuildCost BuildTime Salvage Armor
400 450 0.3 425 65 2/2 12000
Ballistic Range Energy Range Coverage RepairRate LoRepairRate
1×14 2500 - - 15% 20 1.7

Support Frigates can dock 10 Fighters and 4 Corvettes simultaneously, delivering 500 units of fuel per second to each. They ought to be set to Evasive so they don't draw attention by using their peashooters. Their armor is ten times that of the Repair Corvette, but don't go leaving your SF alone in enemy territory or it won't be there when you look for it next time. When Strike Craft come in to dock with a SF, they shut down their sheilds and move very slowly. At this point, they are easy picking for any nearby enemy Strike Craft, so ensure you have an Assault Frigate as Guard to deter any opportunists from popping your vulnerable babies. The Support Frigate itself cannot take much of a pounding, but if you have more than one SF you can get them all to repair each other and this way they last quite a while.
(NB: The Taiidan version has 2×10 guns.)
Can be constructed by a Carrier.
Special: Reconstructor Beam
'Z'-Target the Support Frigate on a damaged ship and the Reconstructor Beam will repair it. It can deflect up to 10° and restores 100 points per second at a maximum range of 4500.


Assault Frigate
Mass Lin v Rot v BuildCost BuildTime Salvage Armor
400 325 0.6 575 60 2/2 16000
Ballistic Range Energy Range Coverage RepairRate LoRepairRate
2×60+4×40 6000 - - 75% 15 1.5

Assault Frigates track multiple targets, pack quite a punch but turn slowly. They are effective against Strike Craft as long as you have several Assault Frigates working together. Otherwise, the enemy will run spheres around you. They are allergic to Ion beams so take care to not lead them into battle against energy weapons. They house two fixed plasma-bomb guns (similar to those on Attack Bombers) as well as four artillery guns on gimbles (although they are not fasttracking turrets).
Can be constructed by a Carrier.
R1 Assault Frigate (colorful artist's impression)


Ion Cannon Frigate
Mass Lin v Rot v BuildCost BuildTime Salvage Armor
400 300 0.4 650 60 2/2 15000
Ballistic Range Energy Range Coverage RepairRate LoRepairRate
- - 1×22 7300 2% 15 3.5

The entire ship is the Ion beam generator so it has to turn to face its adversary before it can fire. This makes it entirely useless against fighters, but five Ion Frigates together can criple a wing of corvettes. What they are best at is attacking large, slow Capital Ships. It fires for 2.3 seconds and then charges for 3.7 seconds, so it is best to get a few Ion Frigates working together on the same target. Other ships must be set to guard them though, and a Support Frigate spewing green particles at them would help also. Don't go mass-producing them at the first possible moment, however, since the next item is better...
Can be constructed by a Carrier.


Destroyer
Mass Lin v Rot v BuildCost BuildTime Salvage Armor
1800 315 0.2 1350 150 3/3 44000
Ballistic Range Energy Range Coverage RepairRate LoRepairRate
4×55 4900 2×22 6900 35% 66 7.5

This heavy-duty combination of the Assault Frigate and two Ion Frigates boasts impressive armor and a great arsenal. It will soon become your main offensive unit. Beware that when Destroyers are close together and battling against multiple enemies, one will often obstruct the Ion Beam of another so try to space them out some (this makes them more effective against Strike Craft and stops them damaging themselves).


Missile Destroyer
Mass Lin v Rot v BuildCost BuildTime Salvage Armor
1800 295 0.25 1500 175 3/3 42000
Ballistic Range Energy Range Coverage RepairRate LoRepairRate
4×115 9000 - - 100% 60 7.5

The Missile Destroyer is the ultimate weapon against Strike Craft; its homing missiles will outrun everything but a Scout (linear v = 1250; angular v = 3.8).
Do not place them in tight groups or the missiles from one will hit the one beside it. In an attack, keep them above and below your main offensive force because, although the missiles track enemy craft, they will not avoid your own ships.
A reservoir of 32 missiles is accumulated when not engaged in combat. 4 of these are discharged at a time; 5 times per second initially and once per two seconds once the reservoir is depleted.
It isn't as effective against Capital Ships as others but can be used to take out Frigates. Its real advantage is to be able to track down multiple fast-moving enemies.
Special: Volley Attack
'Z'-Target the enemy to unleash a deadly stream of missiles


Heavy Cruiser
Mass Lin v Rot v BuildCost BuildTime Salvage Armor
10000 250 0.2 3700 420 5/6 90000
Ballistic Range Energy Range Coverage RepairRate LoRepairRate
6×115 5500 4×30 7100 80% 64 10

This is the Great Grandfather of the Capital Ships. As soon as you can build one, drive a Corvette up alongside it and compare sizes; the Heavy Cruiser is vast. It is really huge.
With enough armor to withstand all but the most determined attacks, this mammoth can slide hummingly into the enemy's camp and blat the Mothership without noticing the small-fry tickling its flanks with Ion Beams. It is the supreme mean machine. It costs a packet in RU's and takes an age to build but it is most definately worth it. Do not loose a Heavy Cruiser in the Single Player missions.